Hourglass timer project
Hourglass timer projectDate of publication: 06-11-2025
In this project, you’ll build a digital hourglass timer using Arduino UNO R4 WiFi and components from the Plug and Make Kit. This timer will display remaining time with LEDs, and sound an alarm when the time is up, all controlled through the Arduino Cloud.
1. Introduction
The hourglass timer is a simple yet interactive project where you’ll set the timer using a Modulino Knob, display the remaining time with Modulino Pixels, and trigger an alarm using a Modulino Buzzer when the time runs out. The kit also includes a LED matrix to show an animated hourglass as the timer counts down.
2. What you will learn
- Setting up sensors and retrieving values.
- Creating a timer and producing sound with a buzzer.
- Displaying an hourglass animation on the LED Matrix.
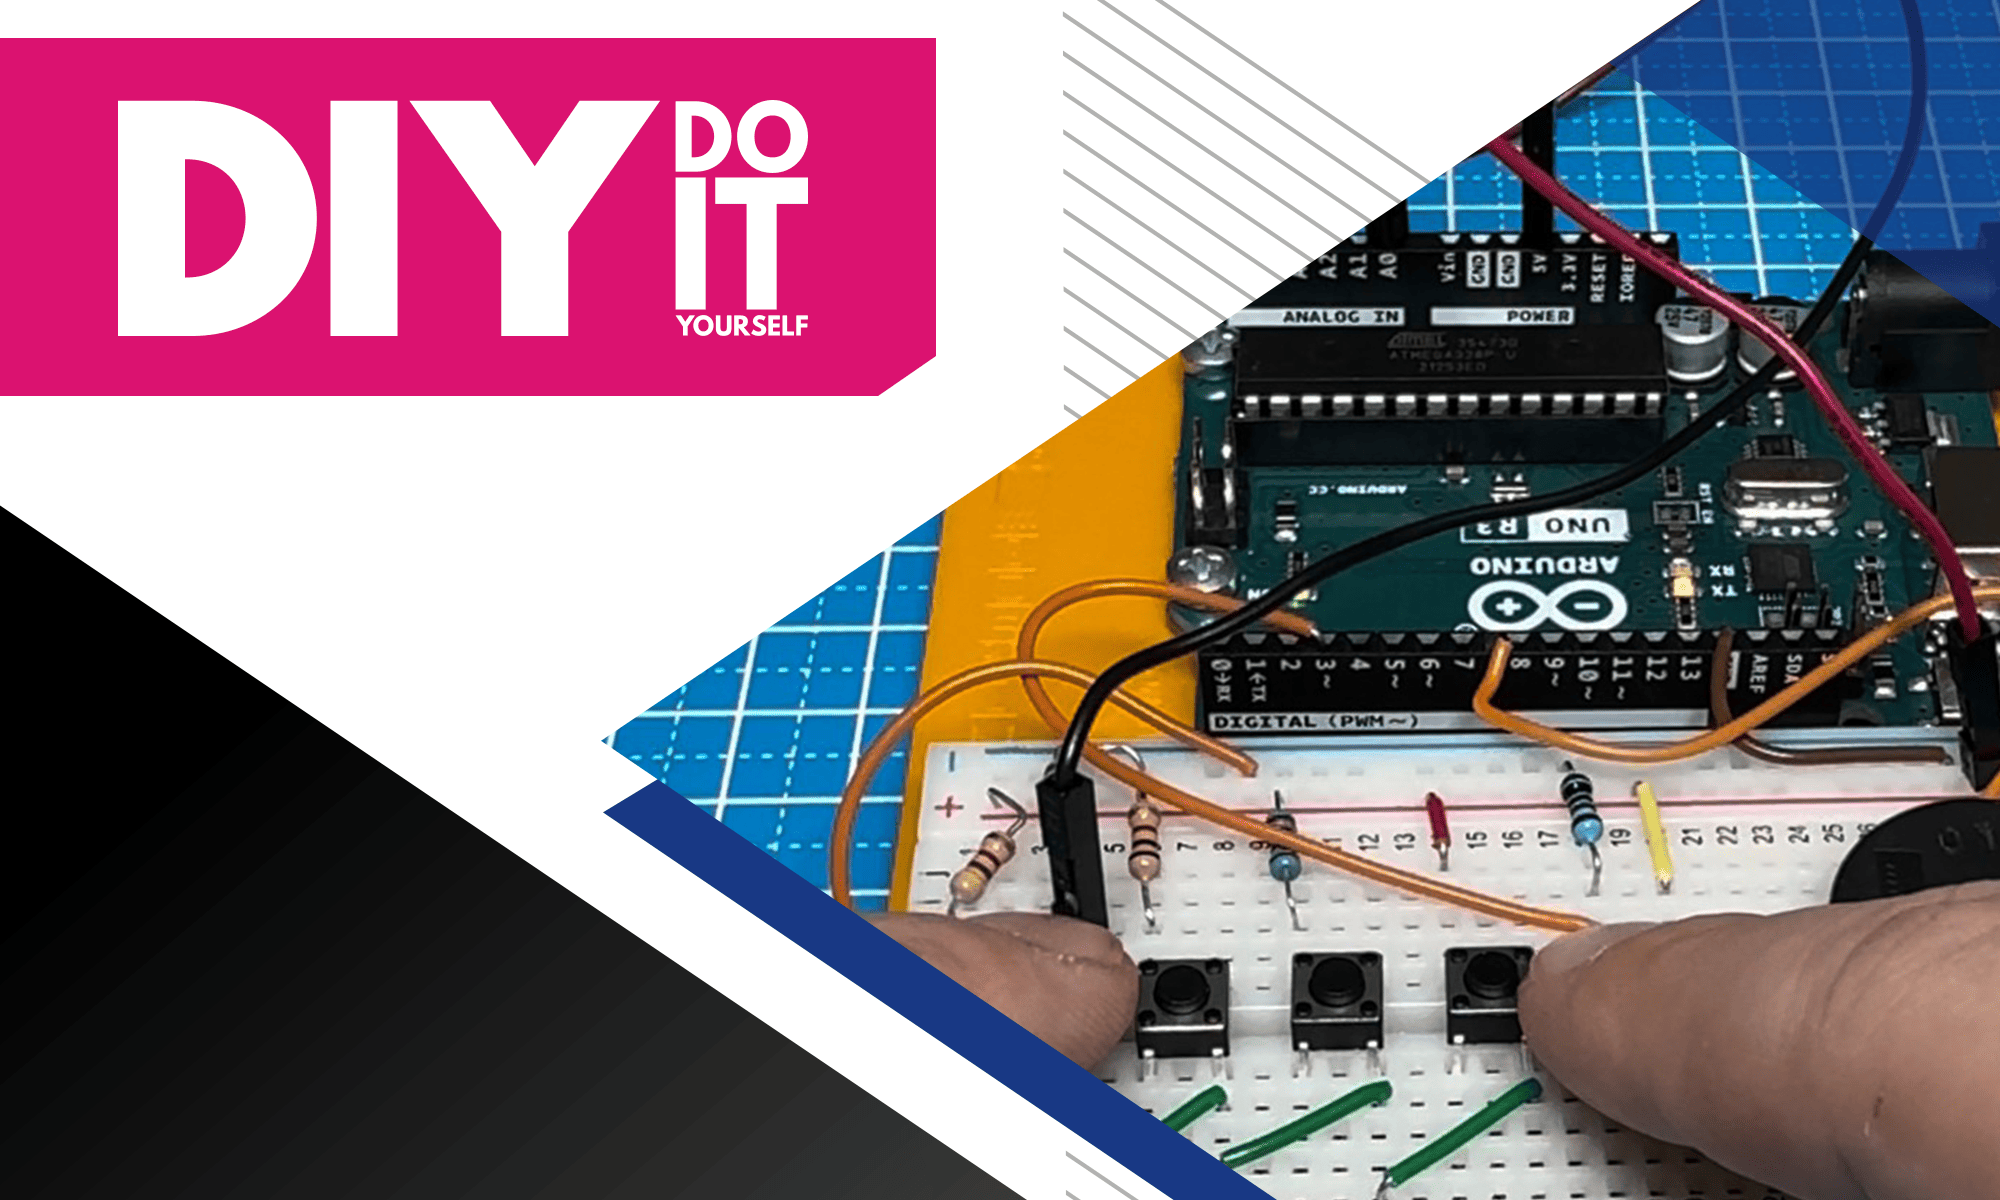
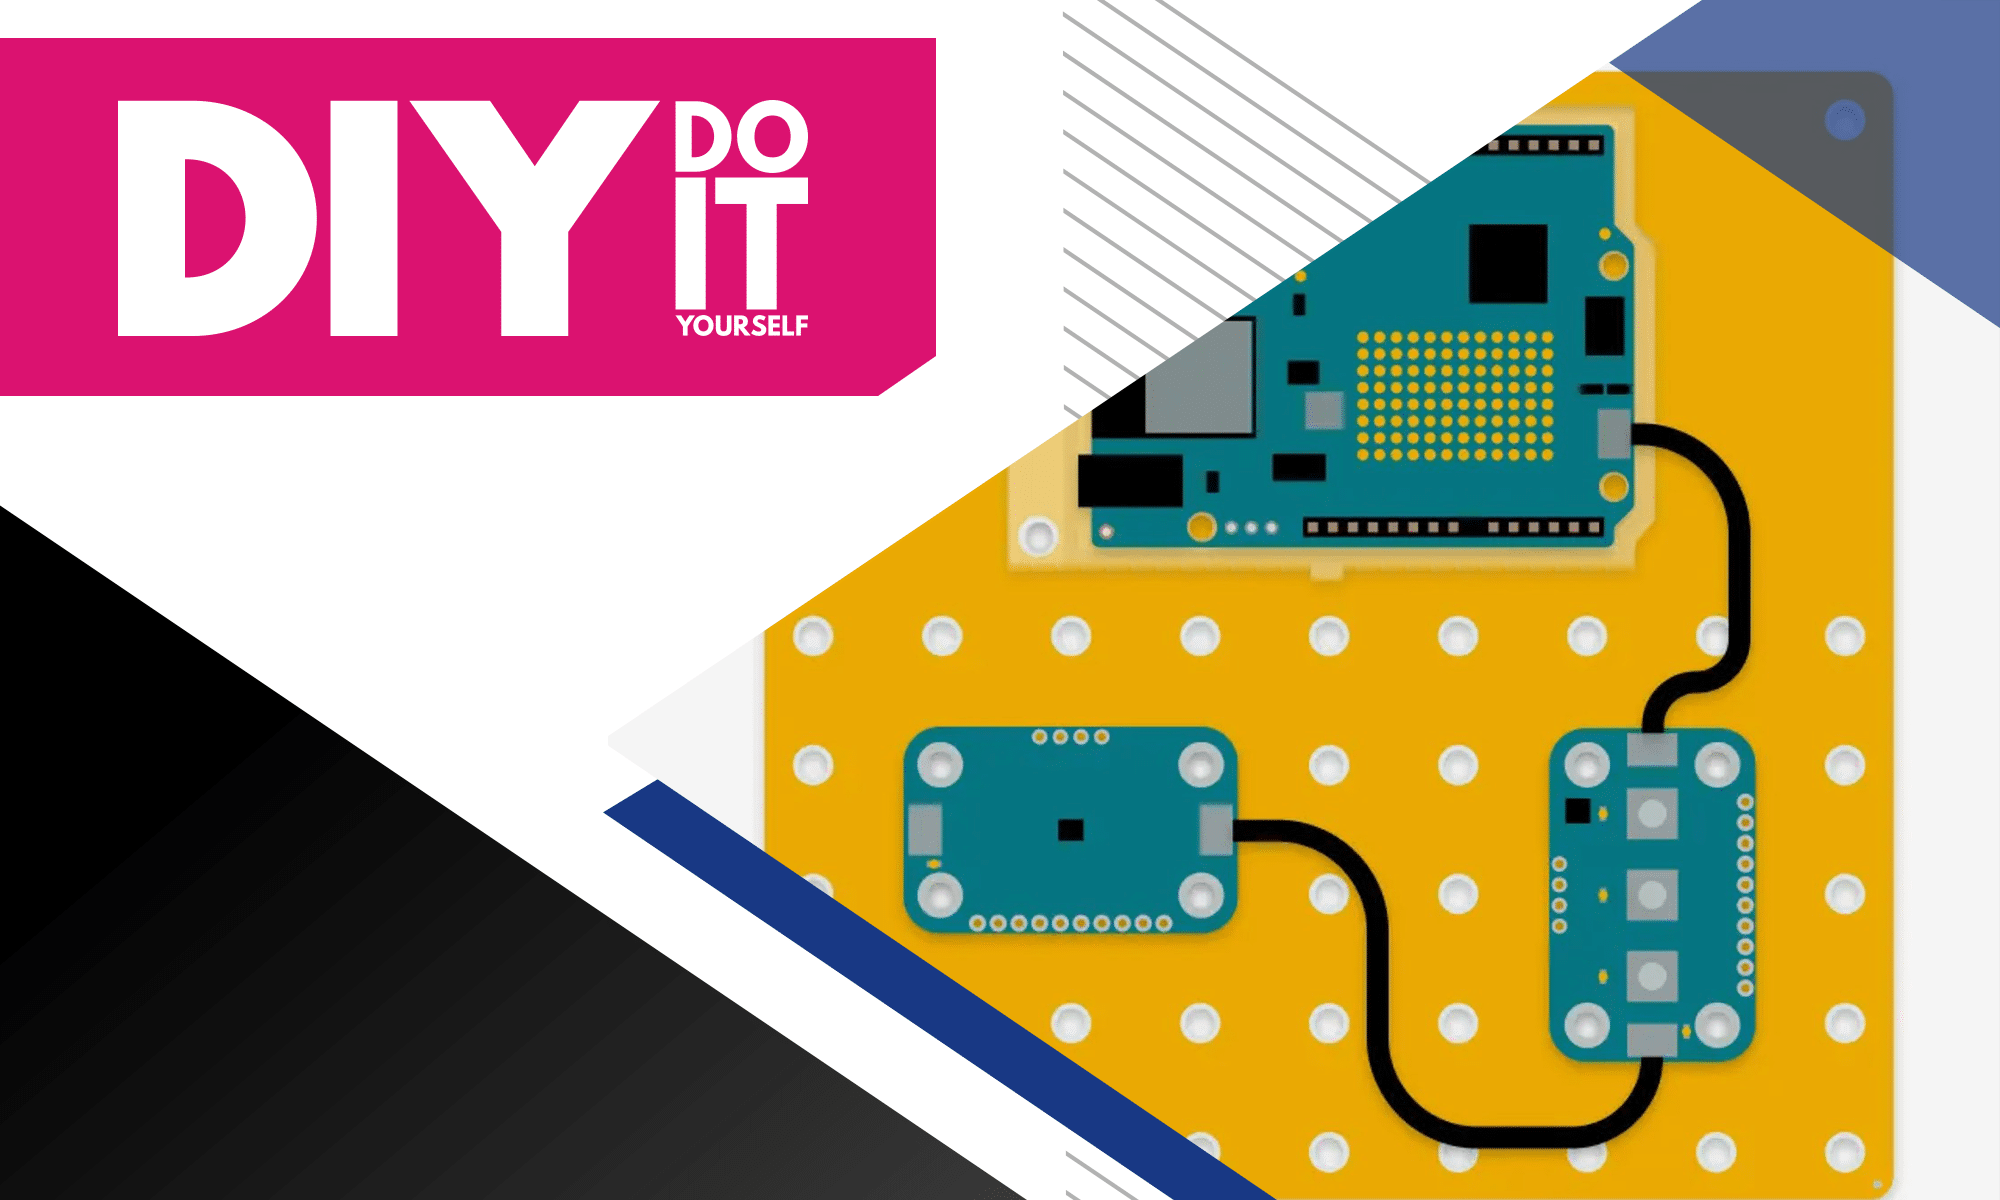
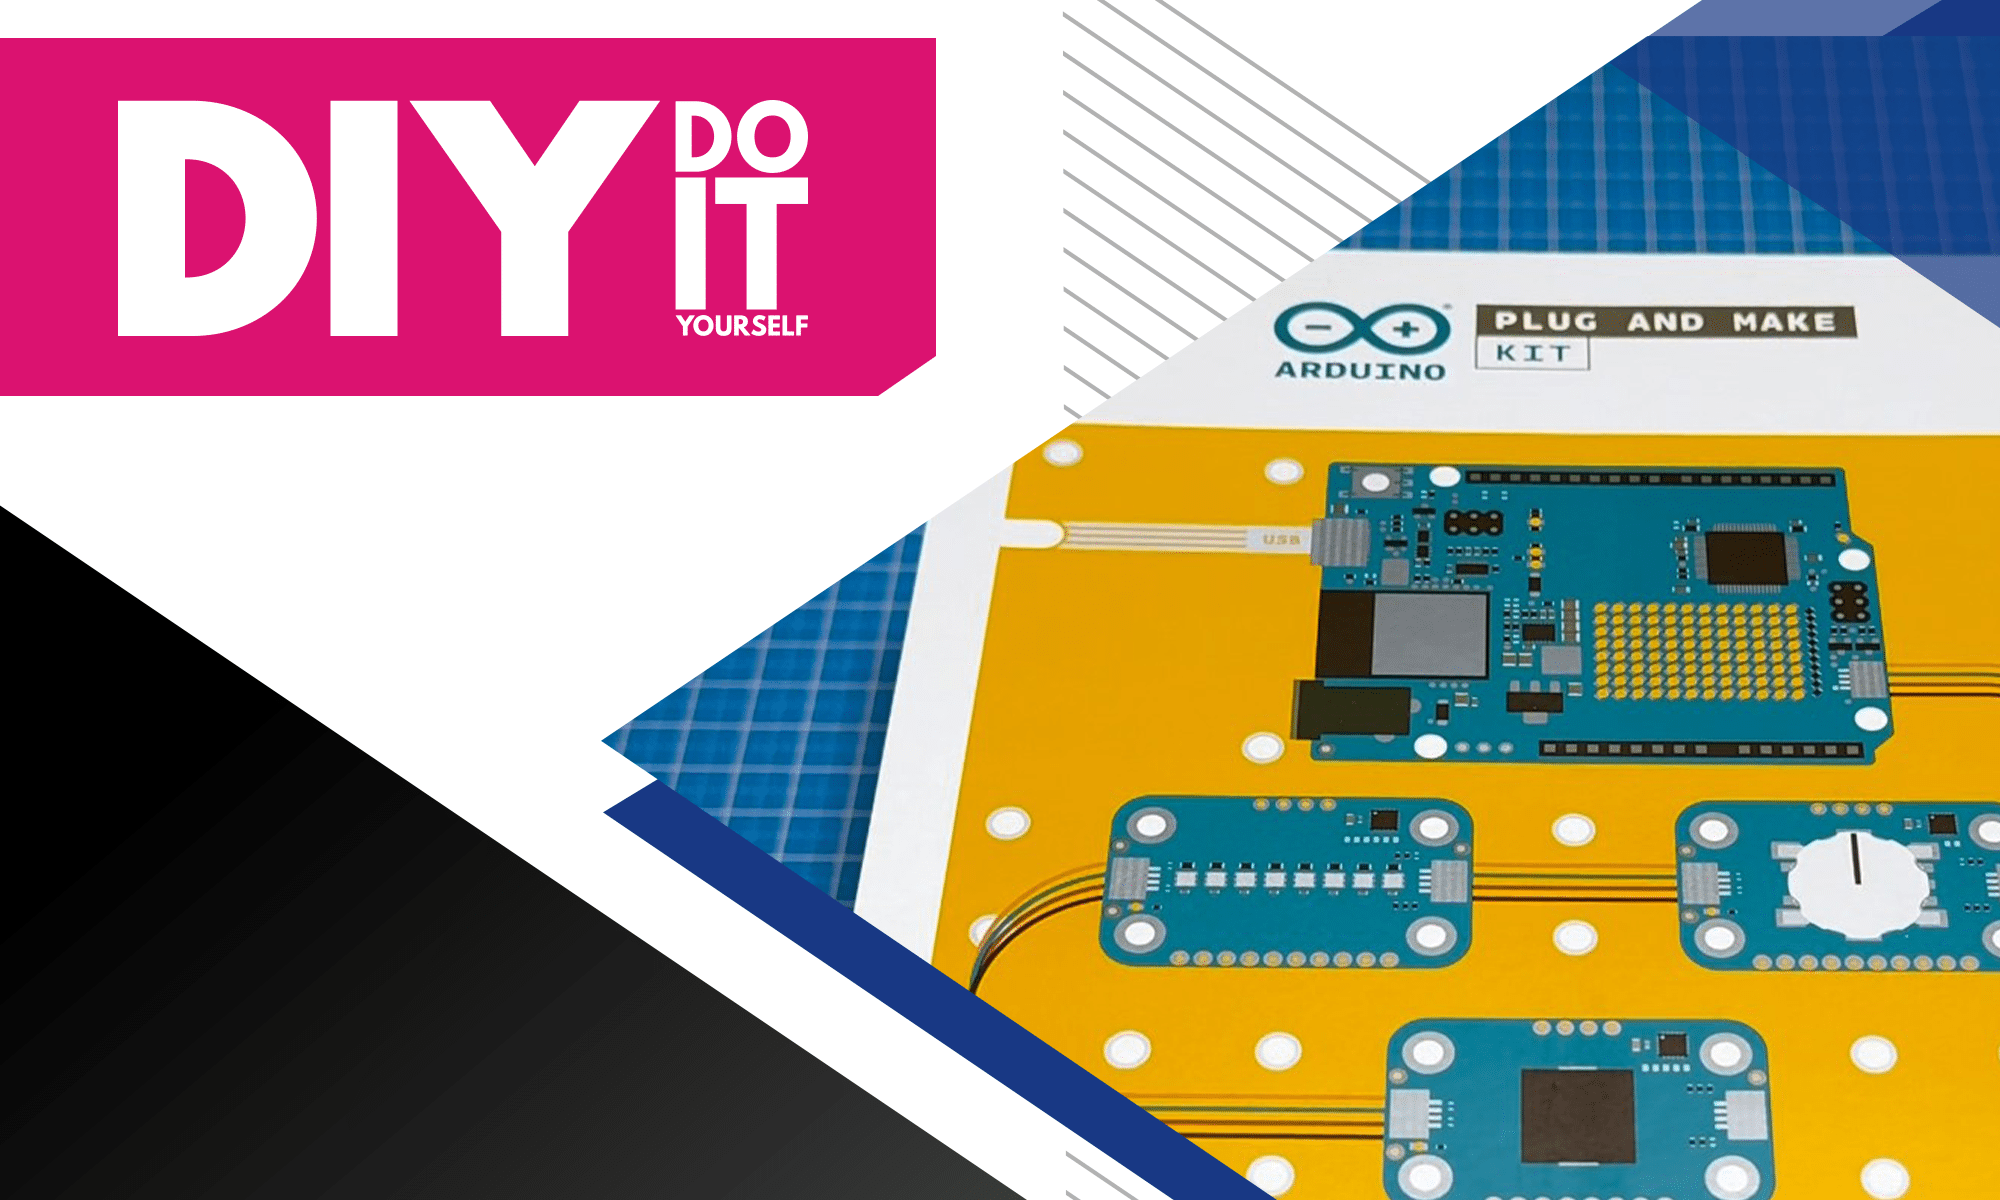
3. Components needed
All required components are in the Plug and Make Kit:
- Arduino UNO R4 WiFi
- Modulino Knob
- Modulino Pixels
- Modulino Buzzer
- LED matrix
- Qwiic cables

4. Setting up the timer control
The Modulino Knob will be used to set the timer. Turning the knob increases or decreases the time, and pressing it starts the timer. Connect the knob to the Arduino UNO R4 WiFi using the Qwiic cables.
Once connected, upload the project code from the Arduino Cloud. This code will show the number of minutes on the dashboard. Twisting the knob will change the duration, and pressing it will start the countdown.
Link to the template: https://app.arduino.cc/templates/hourglass


5. Adding LED indicators for time
To display the remaining time, use the Modulino Pixels. Each LED represents one minute. As you add time with the knob, the LEDs will light up in blue, and they will gradually turn off as the timer counts down.

Connect the Modulino Pixels to the Arduino UNO, and update the code to show the remaining minutes with the LEDs. The number of LEDs lit will represent how much time is left.

6. Creating a state machine
A state machine helps control the different stages of the timer: idle, running, and alarm.
There are three states:
- Idle: the timer is stopped, and you can set the duration.
- Running: the timer is counting down.
- Alarm: the timer has finished, and the alarm sounds.
if (state == 0) {
    // Idle state
    if (buttonPress) {
        state = 1;
        timerStarted = millis();
    }
} else if (state == 1) {
    // Timing state
    if (millis() - timerStarted > 60000) {
        // This code will run once every minute after the timer starts
        timerStarted = millis();
        minutes = minutes - 1;
    }
    if (minutes == 0) {
        state = 2;
    }

    if (buttonPress == true) {
        state = 0;
    }
} else if (state == 2) {
    // Alarm state
    Serial.println("Alarm went off");
    if (buttonPress == true) {
        state = 0;
    }
}

buttonPress = false;
By setting up a state machine in the code, the timer can move between these states depending on your inputs (turning or pressing the knob) and whether the time has run out.
7. Adding an alarm
To make the timer more useful, you’ll add an audible alert with the Modulino Buzzer. When the timer reaches zero, the buzzer will sound to notify you.


Connect the buzzer to the Arduino UNO, and modify the code so that the buzzer goes off when the timer reaches the alarm state.
This sound will alert you that the timer has ended.
8. Extending the timer
By default, the timer is limited to 8 minutes. You can expand this to 24 minutes by using different LED colours:
- Blue LEDs for the first 8 minutes.
- Green LEDs for the next 8 minutes.
- Red LEDs for the last 8 minutes.
This allows the timer to count longer durations, which is useful for tasks that require more time. Update the code to change the LED colours as the timer passes the 8 and 16-minute marks.

9. Adding an hourglass animation
To make the timer visually appealing, you’ll add an hourglass animation to the LED matrix on the Arduino UNO R4 WiFi. This animation will play while the timer is running, showing a fun countdown effect.
Add the code for the animation, which will start when the timer enters the “running” state and stop when the timer reaches zero.
This gives you a visual indication of the timer’s progress beyond the LEDs.

10. Testing and assembly
Once the code is uploaded and everything is connected, test the timer by setting different durations. The LEDs should light up based on the time set, the hourglass animation should play, and the buzzer should sound when the time runs out.
Finally, assemble the components on the Modulino base in any arrangement that works for you.
11. Conclusion
By completing this project, you’ve built a fully functional digital hourglass timer. This project not only gives you a practical timer but also teaches you how to use sensors, LEDs, and sound in an Arduino project.
You’ve gained experience with time-based programming and state machines, and created a fun and interactive device that you can use for various tasks.
Transfer Multisort Elektronik (TME) is one of the world’s largest global distributors of electronic components, electrotechnical parts, workshop equipment, and industrial automation. The catalog includes over 1,000,000 products from 1,300 leading manufacturers. TME’s modern logistics centers in Łódź and Rzgów (Poland), with a combined area of over 40,000 m², ship nearly 5,500 packages daily to customers in more than 150 countries.
TME also invests in the development of knowledge and skills of young engineers and electronics enthusiasts through the TME Education project, and supports the tech community by organizing the TechMasterEvent series, promoting innovation and experience exchange.