How to check if an Arduino board is faulty?
How to check if an Arduino board is faulty?
To check if an Arduino board is faulty, run a series of diagnostic tests, starting with basic symptoms such as no power response, non-functioning USB communication or malfunctioning uploaded programs. Assessing the condition of the board requires observing its behaviour and any signs of physical damage.
Verify power supply and LEDs
The first step is to verify that the board responds to a power connection. When connected via USB or an external source, the PWR LED, which indicates the presence of power supply voltage, should light up. Its absence may indicate a faulty voltage stabiliser, a faulty cable, connector or a short on the board itself. Another diagnostic element is the embedded LEDs, usually connected to pin 13. Many boards have a Blink sketch preloaded at the factory, which causes this LED to flash cyclically. If the LED flashes several times when power is applied, this indicates that the microcontroller and bootloader are functioning properly and are able to execute code. The absence of any Diodes activity may indicate a more serious circuit failure, e.g. bootloader seizure, microcontroller burnout or power supply errors.
Detecting the board by computer
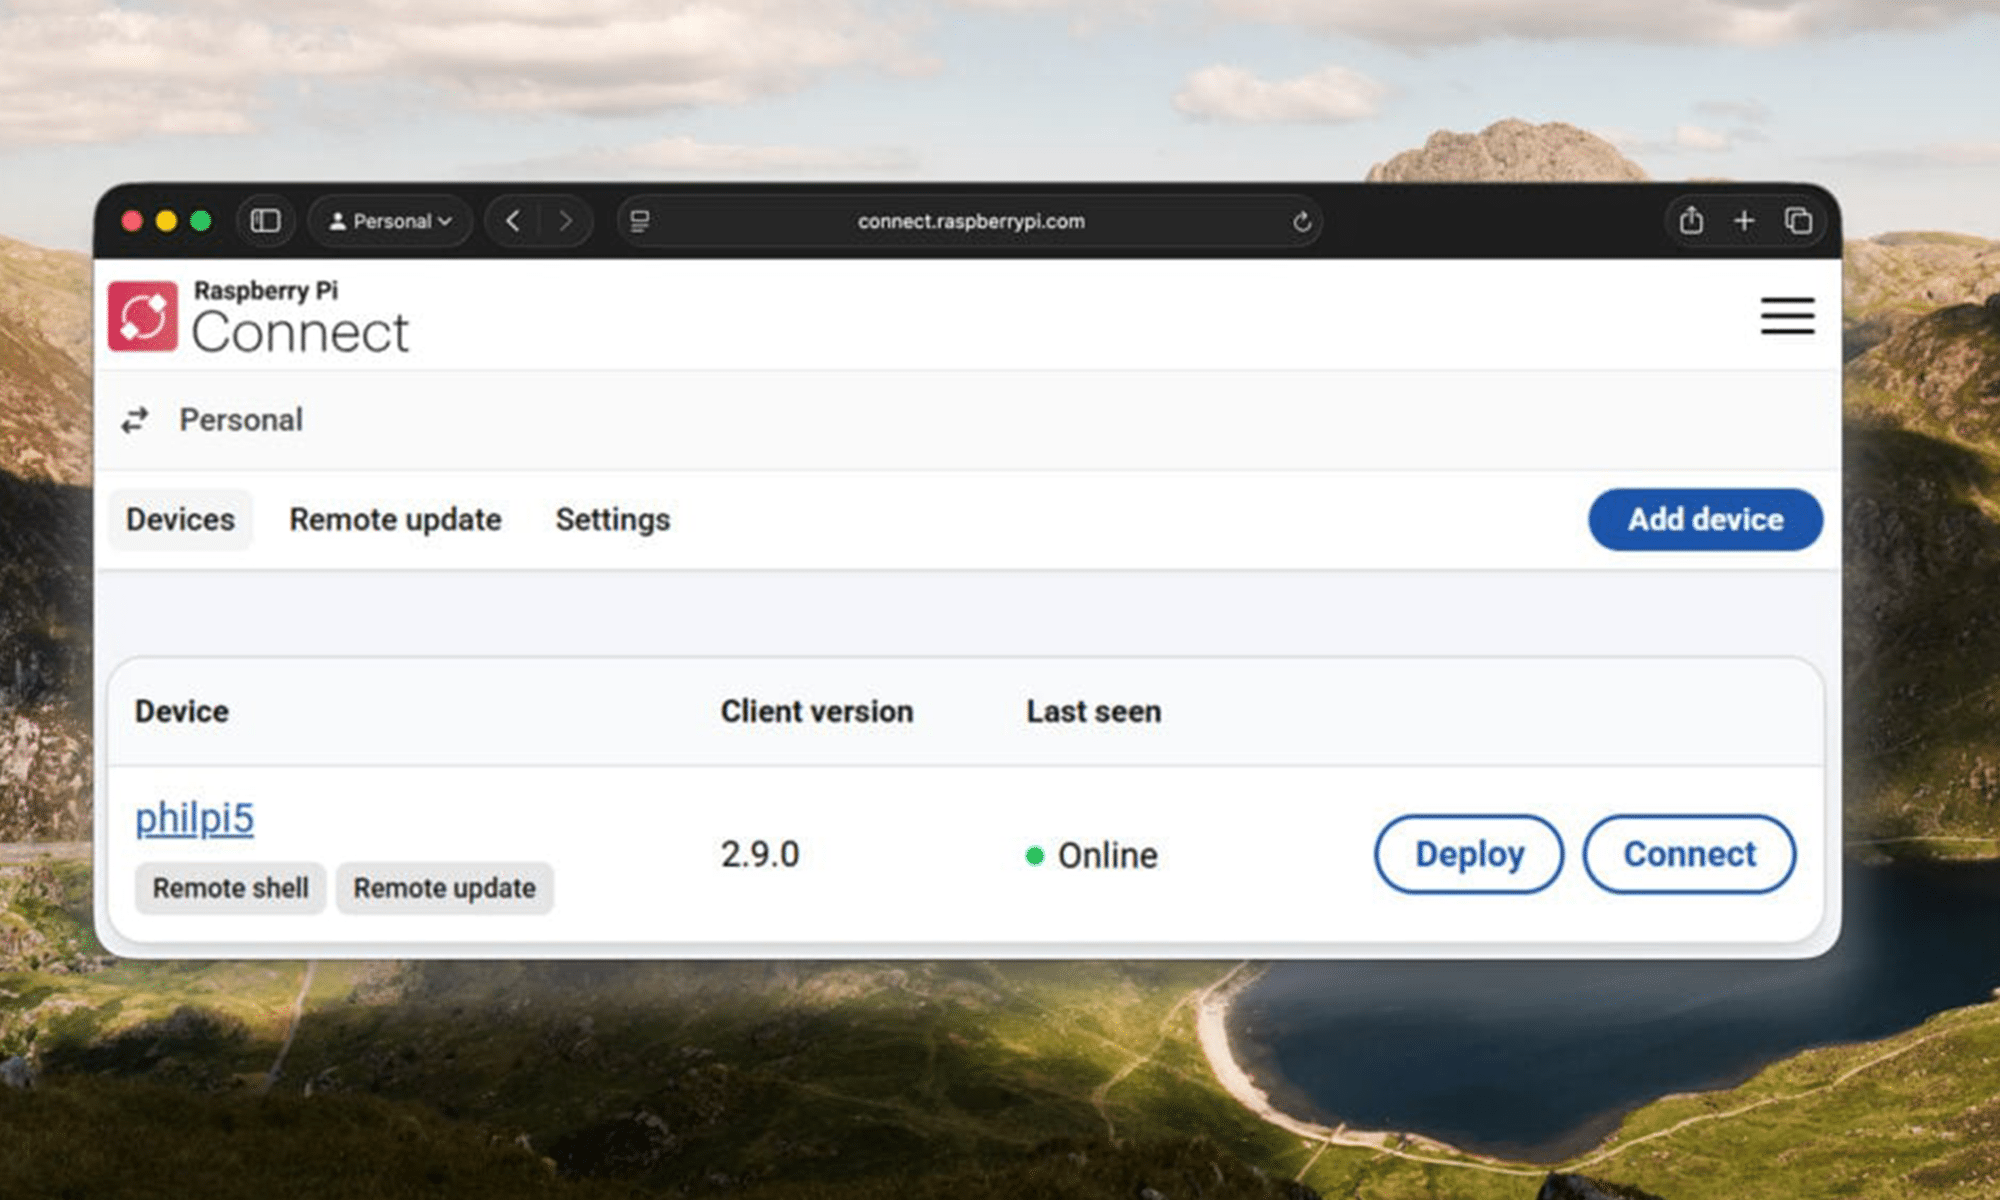
When connecting the Arduino to a computer via USB, the device should be recognised as serial (COM) port. On Windows, this can be checked in the Device Manager, and on Linux or macOS, in the /dev directory, where it will appear e.g.. /dev/ttyUSB0. If the computer does not recognise the device, the cause may be lack of USB-UART Converters driver. No COM port despite a lit PWR Diodes may indicate a faulty USB chip or a broken data path.
Trying to upload a new program
If the board is visible in the system and the COM port is correctly recognised, it is worth trying to upload a simple test sketch, e.g. a new version of the Blink program. In the Arduino IDE, select the correct board model and port and start uploading. If the process is successful, it means that the bootloader works and the Flash memory is functional. In case of errors like "avrdude: stk500_recv()" or "not in sync", there may be a problem with the bootloader or serial communication. A misconfigured IDE or incompatible timing settings could also be the cause.
Mechanical damage and signal conduction
If the board does not work despite power supply, you should also check for mechanical damage. Cracked tracks, cold solders, burned components or discolouration of the Laminates may indicate a short circuit or overload. It is worth using a multimeter to check the continuity of the power supply, voltage levels and any short circuits between pins. In a situation where the Arduino partially works but does not respond to some inputs or outputs, it is possible that selected pins have been electrically damaged, e.g. by applying too much voltage or too much current. Such damage is often permanent and difficult to repair.
Transfer Multisort Elektronik (TME) is one of the world’s largest global distributors of electronic components, electrotechnical parts, workshop equipment, and industrial automation. The catalog includes over 1,500,000 products from 1,300 leading manufacturers. TME’s modern logistics centers in Łódź and Rzgów (Poland), with a combined area of over 40,000 m², ship nearly 6,000 packages daily to customers in more than 150 countries.
TME also invests in the development of knowledge and skills of young engineers and electronics enthusiasts through the TME Education project, and supports the tech community by organizing the TechMasterEvent series, promoting innovation and experience exchange.